Tuesday, July 20, 2010

Summer skirt


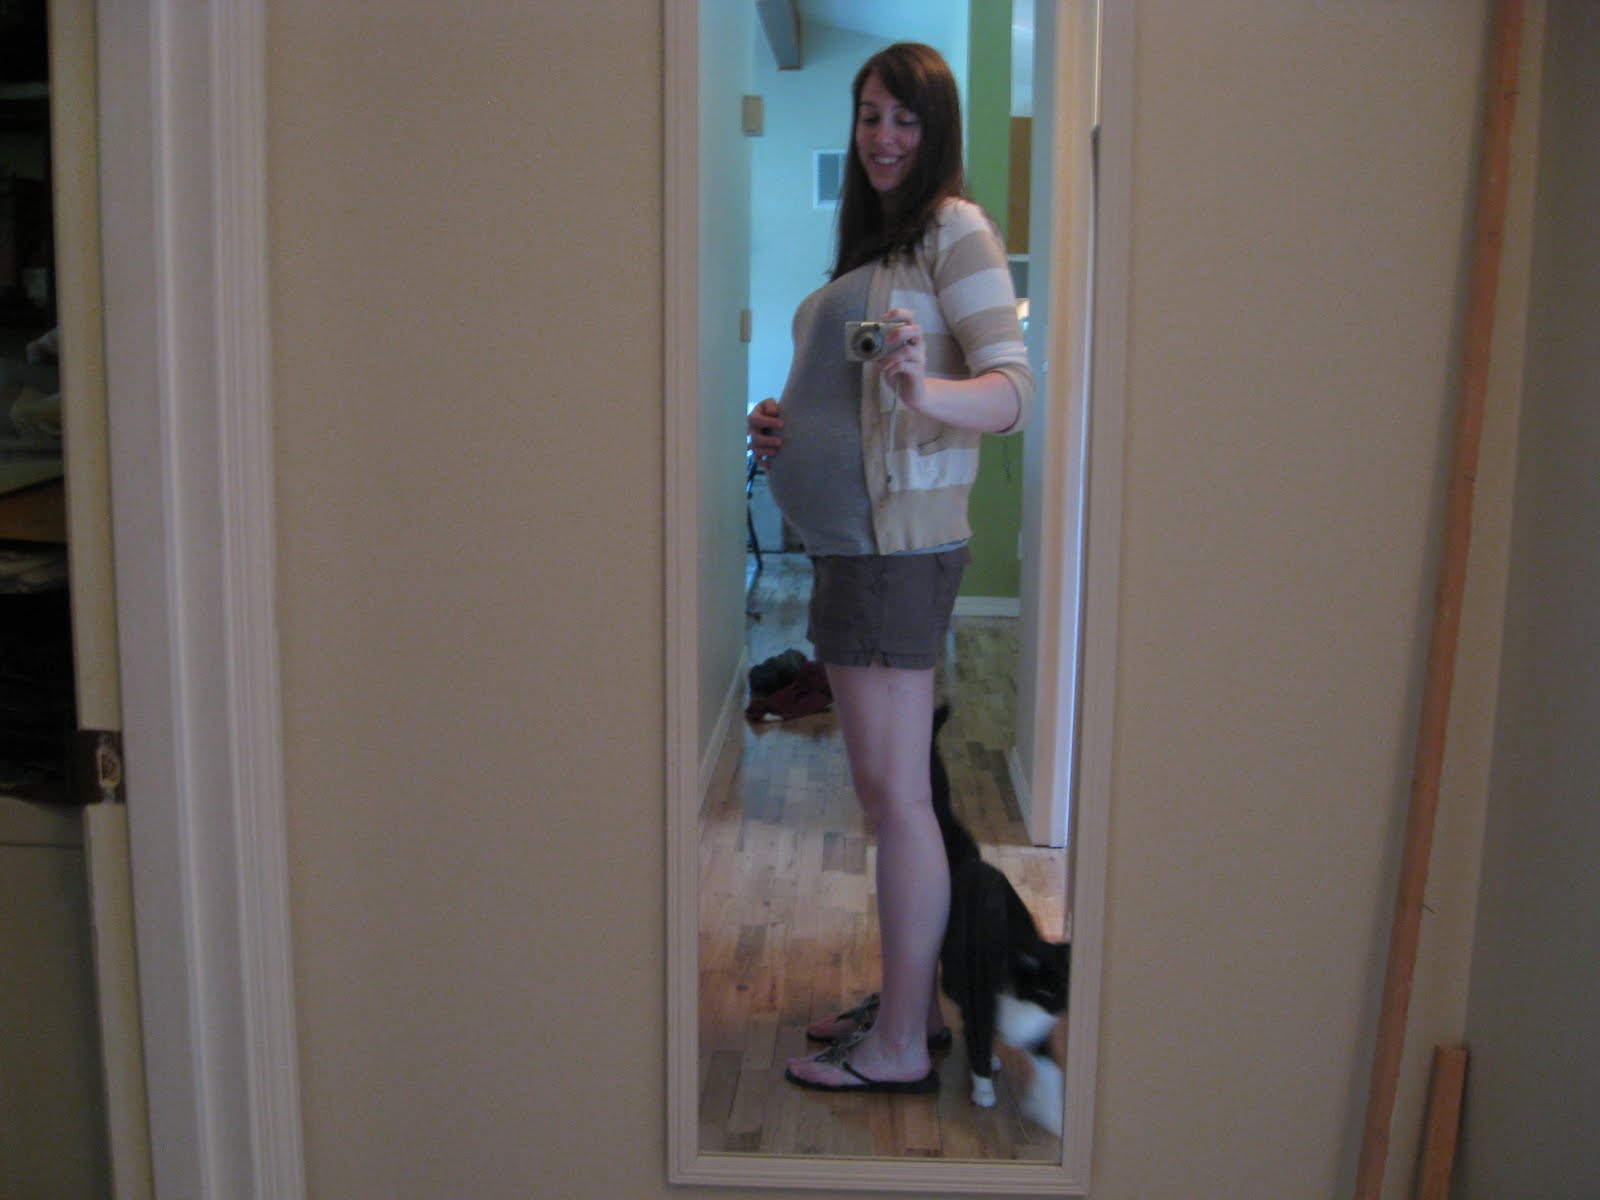
I've had this one bouncing around in my head for some time. Ever since I saw Kate Hudson in this, I've wanted to try my own version. So, in honor of de-stashing, here it is. My preggo summer skirt.


Ive found modesty a bit of an issue in later pregnancy. My belly is so big that I often feel like that fat guy at the comic book store with the bottom of his tummy hanging out of his "han shot first" tshirt, or I find skirts and shorts too short and tight for my growing thighs/tummy and the unladylike way I have to bend over now. I'm thinking this skirt is a pretty good solution. It's long enough that I can bend over any which way I need to without flashing anyone, and its nice and loose and comfy at the waist. I made this one the same way Ive been making all my skirts for the last year or so.
Step 1: Embellish however seems appropriate.
Step 2: Sew a hem if necessary.
Step 3: sew your fabric into a tube.
Step 4: Fold over the top (unhemmed bit) and sew at the edge to form a casing for your elastic, leaving a gap to thread the elastic through.
Step 5: Measure your waist with said elastic by stretching until it is tight enough to hold a skirt up but is still comfy (remember the fabric of the casing will add a little bulk).
Step 6: Thread elastic through the casing using a safety pin or if you are lazy like me, a broach back you found in a jar on your sewing table.
Step 7: Sew edges of elastic together making sure to back stitch a couple of times so its secure.
Step 8: Put on your new skirt and congratulate yourself for being so thrifty and clever!


As you can see, its pretty freeking easy to have a new skirt with a minimal time commitment. It gets faster as you go along as well. This one probably took me an hour because... gasp, I actually ironed the fabric first and I had to sew all these rows of lace on, but I bet once you get this down you could throw one of these puppies together in 15 - 20 minutes. This method scales really well too... its so easy to make one in any size since you aren't using a pattern. Make one for your daughter, bfgirlfriend or doggie. The possibilities are endless!

Sunday, July 18, 2010

Freezer paper FTW!


I finally did it! I finally tried out freezer paper and it looks rad! I had a couple of baby t-shirts and a onesie with graphics on them that I wasn't crazy about, so I decided to make my own. If you haven't used freezer paper before there are a billion tutorials online but I'll give you a quick rundown of how I did mine.


I traced my stencils onto squares of freezer paper, matte side up and then cut them out using an x-acto knife. Then I positioned them on my fabric, in this case an old t-shirt (wanted to use jersey on jersey) and ironed them in place using the driest, hottest setting. Place the iron straight down onto the paper, moving it around as you do when ironing clothing might slide the paper out of place.


Paint right into the stencils with fabric paint. I think I got mine at Michaels. Make sure to work it into the fabric, but do it carefully, you don't want the paint to bleed past the edges of the stencil. Let the paint dry. While you do that, snap a couple pictures of contented kitties.


Once the paint is dry (I waited a couple of hours, but you could probably read the instructions on your fabric paint for the proper time), carefully peel back the freezer paper. You may need to bust out that x-acto knife again to help with the itty bits. I'm pretty sure you are supposed to throw it in the dryer to get the paint to set before washing but since I haven't figured exactly which designs are going where just yet I haven't done this step. Now lay everything out and admire your handiwork. I LOVE the way these came out. I was worried about the cutting out bit but it really wasnt bad. If I can do it, you can do it. Now, you too should go forth and stencil something.

Wednesday, July 14, 2010

Destashing? Well, sort of...


So Ive been a bit naughty... already. I know, I know, I feel really guilty, Ive just been so busy being pregnant and tired. I did finish a huge pile of mending though (theres 8 flipping pairs of pants in there people). See and I used 2 pieces of my stash for patches so I'm totally counting that for last week.


I also made these baby shoes from stash fabric. But I made them 2 weekends ago so I'm not allowing myself to count them. I like the way they came out. In true McCoyalicious fashion I went ahead and altered them as I went along which often yields less than desirable results. They were supposed to look like little Chuck Taylors and they kind of look like, well not like little Chucks. I would recommend this pattern though, fun and easy to use I finished these in an afternoon even with a couple of hours of visiting thrown in. Now, back to the stash. I'm really going to try to squeeze out an apron this weekend, but I did just find a great idea for granny squares that I'm dying to try...

Wednesday, July 7, 2010

Its about time...

For de-stashing.

Photobucket

I saw this post at The Train To Crazy and I'm jumping on board. I have so much fabric/old tshirts/pants that don't fit/ripped sheets that are literally taking over my craft room. Poor Bruce... its a craft room now, barely room for the computer. So I'm on board for the big destash. I don't know if I can do 50% but I'm definitely committing to 25% before I buy any more fabric. Oof... I guess I'd better get going. My plan is to do at least one stash project per week. Stay tuned.

Monday, June 28, 2010

Refashunz


I finally did it! I don't even know how long this pink tshirt from forever 21 was hanging from the light fixture in my craft room (originally put in such an awkward place in a failed attempt to get me to move forward on my vision for it sooner rather than later). But here she is and I couldn't be more pleased. All it took was Mae coming over, several cups of half/caf coffee and an over indulgence of home made pumpkin scones. Mmmm pumpkin scones. I digress, back to the shirt!


I used this tutorial from Lex that Ive been drooling over forever (isn't she amazing?) and modified it to fit the materials I had on hand. I used an ill fitting old navy tshirt for the flowery bits and collar. I'm so pleased with how this came out. I'm almost inspired to tackle the blue version of the same tshirt which is now occupying most of the space on my dining room table. See, if its all spread out, perhaps Ill get to it sooner... we've been down this road before haven't we?

Wednesday, June 23, 2010

Busy with Baby Stuff


As you can see the belly is growing. I'm still tired, but I got tired of being tired and have forced myself to get back into a crafty groove albeit not as prolificly (thats a word right?) as I would like. I have managed to make a few things on my list for Jack. The first is the LOOP baby toy from Ravelry. I keep reading that little babies like high contrast stuff so I did up the main ring in black and white and the smaller ones in red and gray. Hopefully it will be something texturally and visually interesting for Jack to enjoy right away. To be honest, I have no idea what newborns are interested in so I guess we'll just have to see what he thinks.


Ive also finished the baby sophisticate finally. It was sitting around waiting for buttons FOREVER and I got sick of it mocking me. I also made this bunny from the pattern I found here. I HIGHLY recommend this one. Its super fun to make, quick, easy and oh so satisfying. I stuffed a couple of jingle bells into the body to make it a little more interesting for Jack. Bruce has been calling it "Jack Rabbit". So cute.


I also found time last night to make this coffee cake. I found out half way into mixing that the applesauce in my fridge had gone bad (sad face, why can I never use that stuff up fast enough) so I subbed in canned pumpkin and it was delicious. Ive had 4 pieces already and intend to eat several more this evening. Delish!

Wednesday, May 12, 2010

Gratuitous belly shot and some knits

Chatting with my soon to be SIL has made me realize how long its been since Ive posted. I have some new stuff to share. One of which is my growing belly. 19 weeks and looking pregnant yay! Its nice to look like I'm growing a baby finally instead of just fat/bloated. We had an ultrasound last week that confirmed what Ive known all along, that its a boy! I can't wait to get started on all the boy projects I have in mind. I've finished the baby sophisticate sweater from ravelry. Just need to add some boy-ish buttons. I found the pattern not perfect but once I got going, pretty easy to follow. There are a few things I would change next time around (making the arms and front panels wider), but it was a pretty quick knit and fun to knit all in one piece. I plan to cast on v2 tomorrow at Craft Night at Mae's house.


I also finished this little monkey inspired by the Small Bunny pattern also from ravelry. He was a gift for the yet to be born baby Mason. His momma and daddy both grew up with adored monkey softies so I had to make one for little Mason.
Ive got ideas for a few tshirt refashions as well as some summer maternity items. I think we'll have all my craft stuff moved from the baby's room into Bruce's office this weekend so hopefully Ill have my sewing space back and the frenzy can begin.